ES-DE Android Custom Emulators Guide: Add ARMSX2, Switch, PS3, Vita3K & More (2026 - 2027)
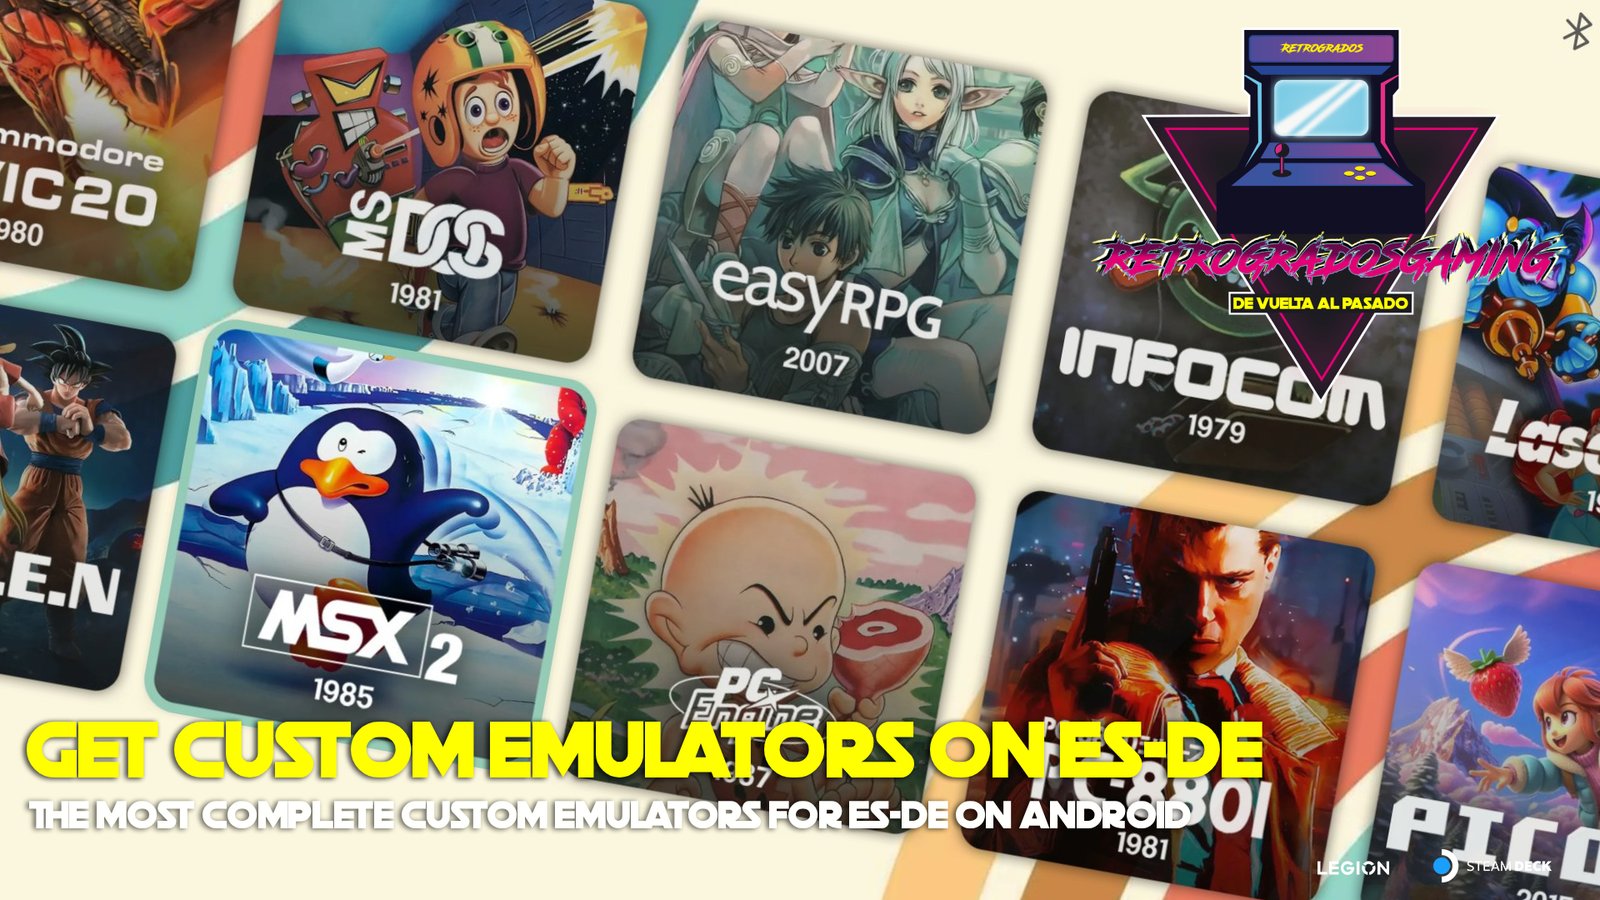
If you're diving into the world of Android emulation, you might have stumbled upon a little gem called ES-DE. This powerful frontend transforms your device into a retro gaming powerhouse, supporting a vast array of systems from NES to Nintendo Switch. However, the real magic happens when you start adding custom emulators to enhance your gaming experience.
Why Add Custom Emulators?
The default setup of ES-DE comes with a limited number of standalone emulators and cores. While these are great for getting started, they might not cover every system you want or the specific version of an emulator you prefer. Adding custom emulators like ARMSX2 for PS2 or Vita3K for PS Vita brings several advantages:
- Tailored performance: Some emulators are optimized for specific games or hardware configurations.
- Expanded library: Access to more games and systems.
- Advanced features: Unique options and enhancements that aren’t available in default setups.
[IMAGE1]
Getting Started: Essential Files and Configuration
To integrate custom emulators into ES-DE, you'll need to modify a couple of XML files: es_find_rules.xml and es_systems.xml. These files dictate which emulators are recognized and how they're configured.
For this guide, we'll use the Odin 2 Portal setup as an example. Here’s the path you'll need:
Path: Odin2 Portal/ES-DE/custom_systems/
Download Updated XML Files
Finding up-to-date custom files can be a hassle, but we've done the heavy lifting. Below are the necessary files:
These files are updated and include the PS2 emulator ARMSX2.
How to Add Custom Emulators to ES-DE
Step-by-Step Guide
- Access the Custom Systems Folder: Navigate to
Odin2 Portal/ES-DE/custom_systems/on your Android device. - Replace XML Files: Download the updated
es_find_rules.xmlandes_systems.xmlfiles and replace the existing ones in the folder. - Install Emulators: Ensure the standalone emulators you wish to use are installed on your device. These can include options like SkyEmu for Game Boy or Yuzu for Nintendo Switch.
- Configure Paths: Open
es_systems.xmland configure the paths for each emulator to point to the correct file locations on your device. - Test and Troubleshoot: Launch ES-DE and see if your new emulators appear. If not, double-check file paths and XML formatting.
</figure>Supported Standalone Emulators
Here's a comprehensive list of standalone emulators you can integrate with ES-DE:
- Nintendo Game Boy / Game Boy Color: SkyEmu, GBC.emu, My OldBoy!
- Nintendo Game Boy Advance: SkyEmu, GBA.emu, My Boy!
- Nintendo Entertainment System: NES.emu, iNES
- Super Nintendo: Snes9x EX+
- Nintendo 64: M64Plus FZ, Mupen64Plus AE
- Nintendo GameCube: Dolphin, Dolphin MMJR
- Nintendo Wii: Dolphin
- Nintendo 3DS: Azahar, Citra
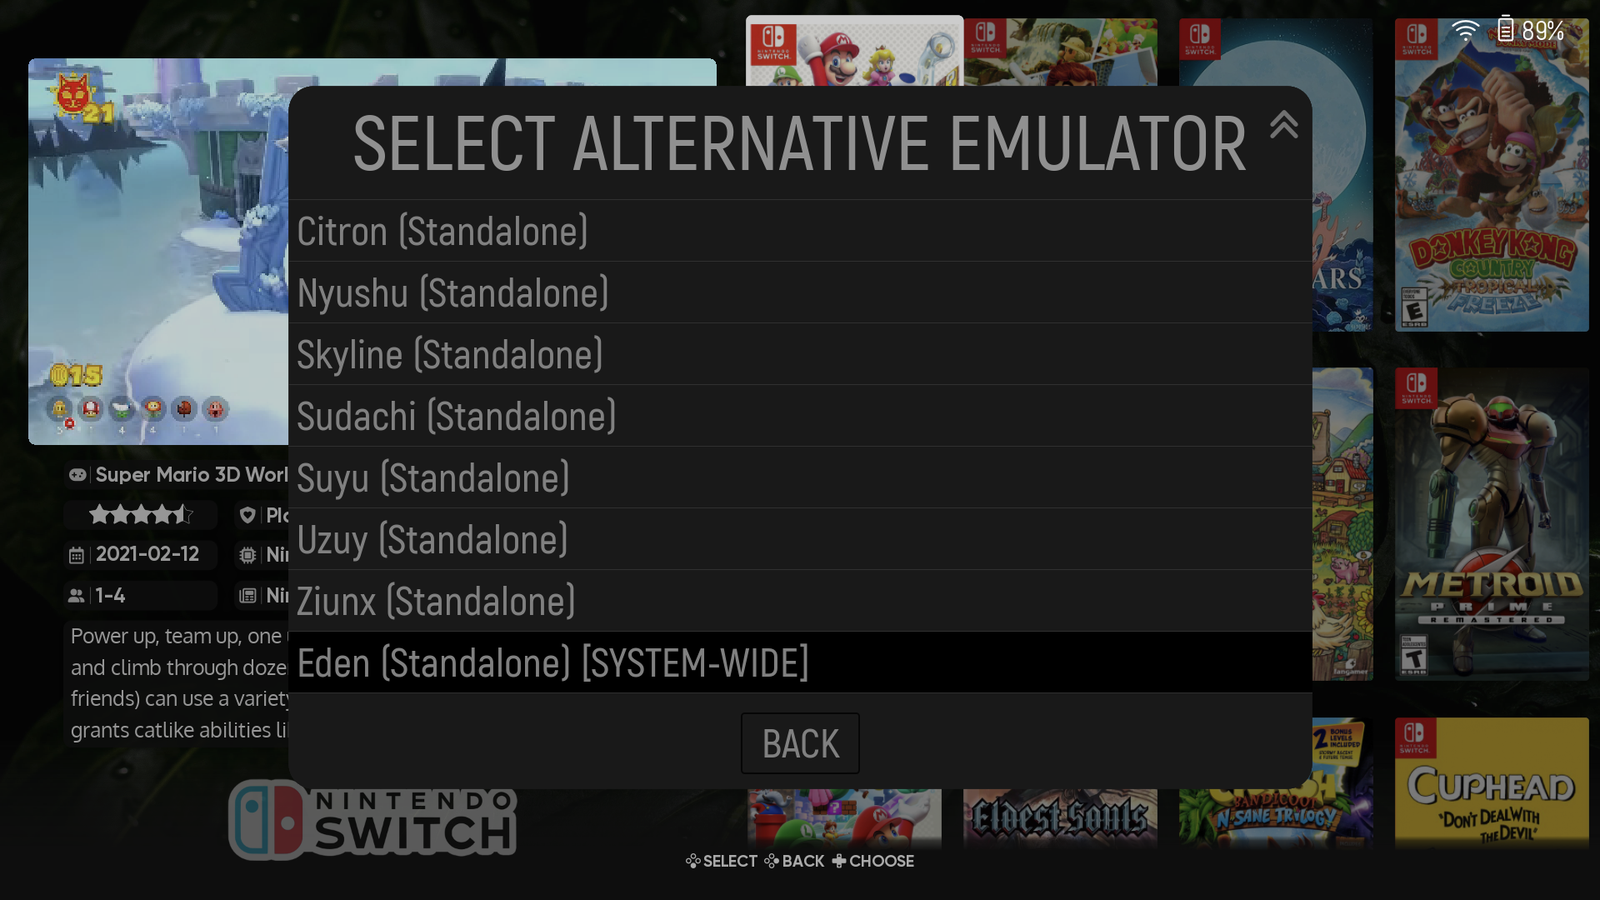
- Nintendo Switch: Yuzu, Skyline
- Sega Genesis / Mega Drive: MD.emu
- Sony PlayStation 2: NetherSX2, ARMSX2
- Sony PlayStation 3: aPS3e, ARMSX3
- Sony PlayStation Vita: Vita3K
- Microsoft Xbox 360: aX360e
- Xbox Game Pass Streaming
- Valve Steam: GameNative Steam
- GOG.com: GameNative GOG
- Microsoft Windows: Winlator Cmod
Common Mistakes and Tips
- XML Errors: Ensure your XML files are correctly formatted. A single typo can prevent emulators from appearing.
- Path Configuration: Double-check that emulator paths in
es_systems.xmlmatch the actual locations on your device. - Keep Updated: Regularly check for updates to your emulators and XML files to ensure compatibility and performance.
Conclusion
Adding custom emulators to ES-DE on your Android device opens up a world of retro gaming possibilities. While setting up might seem daunting at first, the process is straightforward once you understand the essentials. For those who want to skip the hassle and dive straight into gaming, platforms like Retrogrados Gaming offer pre-configured libraries, ensuring you have everything you need at your fingertips, complete with lifetime updates. Happy gaming!