Setting Up Switch Emulation on Your Windows Console with Eden Emulator
Hey everyone! Hope you’re all enjoying your consoles! Today, we’re diving into the world of Nintendo Switch emulation, specifically using the Eden Emulator on a Windows console. This guide is perfect for those of you new to emulation or unsure about how to handle the essential files needed to play your favorite Switch games on a Windows platform.
What You Need to Get Started
Before we dive into the setup, there are a few key components you'll need:
- The Eden Emulator: The core software that will run your games.
- Essential Files: These include the
prod.keysand firmware necessary for emulation. - Your Own Game Dumps: Legal backups of games you own that you'll be playing.
Once you've assembled these, you're ready to start the installation and setup process to enjoy your Nintendo titles on your Windows console.
Step 1: Download the Essential Files
The first step in setting up your Switch emulation environment is obtaining the essential files. These are crucial for the emulator to recognize and run your games correctly. You’ll need both the prod.keys and firmware files.
- Prod.keys: These are encryption keys that let Eden decrypt and run your Switch games.
- Firmware: This mimics the Switch’s operating system for the emulator.
Ensure you have these files handy before moving forward.
Step 2: Download Eden Emulator
Head over to the official Eden Emulator website and download the emulator. This will be the main tool you use to play your games. Keep the downloaded file in a convenient location as you will need to extract it shortly.
Step 3: Create the Directory Structure
To ensure your setup stays organized, it’s crucial to create a clear directory structure.
- Create a main directory:
C:/Switch/ - Inside, create two subdirectories:
C:/Switch/Eden/C:/Switch/roms/
This setup will help you keep your emulator files and game dumps neat and easily accessible.
Step 4: Extract Eden
Next, extract the Eden compressed file you downloaded into the C:/Switch/Eden/ directory. This effectively sets up the emulator for initial configuration.
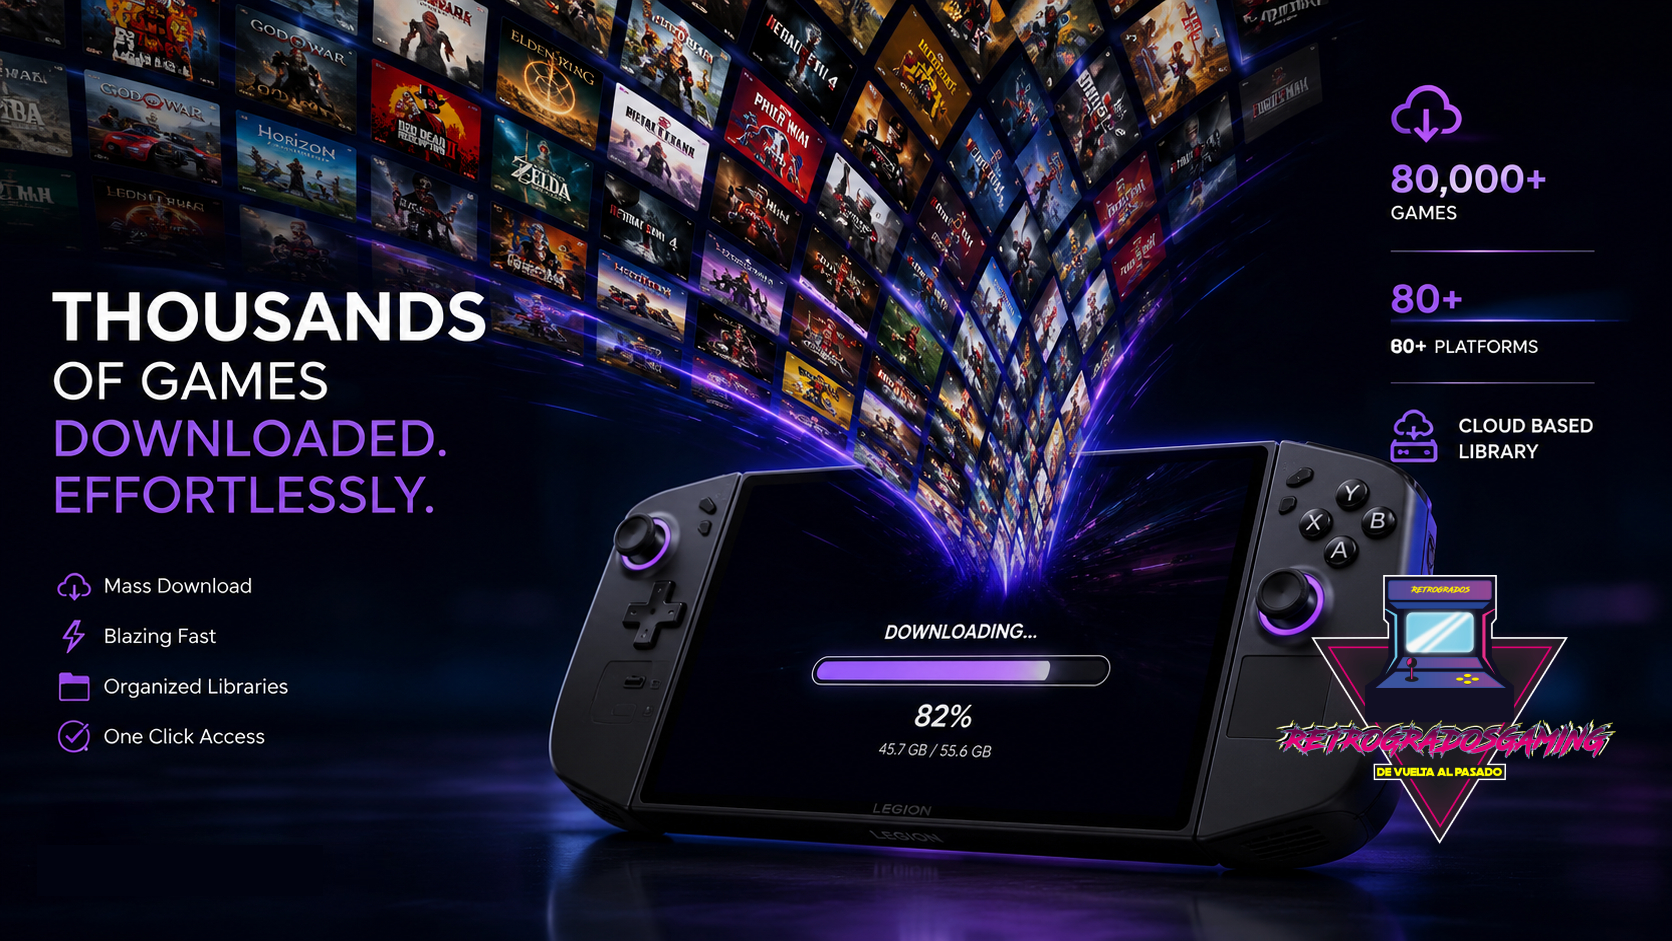
Step 5: Add Your Games
You’ll need to place your game dumps into the appropriate folder. For instance, if you’re sourcing games from Retrogrados Gaming servers, you would place them here:
C:/Switch/roms/
This is where all your game files will reside, ready for when you point Eden to this directory.
Step 6: Configure Eden
Now, let’s ensure Eden can locate and run your games without a hitch.
- Launch Eden and navigate to the menu.
- Go to Tools → Install Decryption Keys and select your
prod.keysfile. - Then, go to Tools → Install Firmware → Zip and select the downloaded firmware file.
With these steps completed, your emulator is nearly good to go!
Step 7: Point Eden to Your Games Folder
It’s important that Eden knows where your games are stored. Set the game directory to:
C:/Switch/roms/
Eden will then scan this folder and display all your available titles, ready to play.
Optional: Improve Performance
While Eden is designed to run efficiently, a few tweaks can enhance performance:
- Adjust graphic settings for smoother gameplay.
- Ensure your controller drivers are correctly detected and configured.
ROG ALLY Users:
For users who own a ROG Ally, you may notice that your controls do not work when trying to use emulators. This usually happens because, for emulators to detect the built-in controls correctly, your ROG Ally must be set to Gamepad Mode.
If your device is currently set to Desktop Mode or Auto Mode, most emulators will not recognize the controls properly.
This is a very common issue for new ROG Ally users and is easy to fix. Simply switch your controller mode to Gamepad, and your controls should be detected immediately.
You can follow this short video tutorial to see how to switch between controller modes. The process is very simple and takes less than 10 seconds.
Video Guide: https://youtu.be/LQcqXoamMew?si=8RmsE3OiTHK5QupP
These minor tweaks can significantly improve your gaming experience, especially on devices like the ROG Ally or similar Windows consoles.
All Done!
Congratulations! You’re now ready to enjoy your entire Nintendo Switch library right on your Windows console. Whether you’re diving back into classic titles or exploring new ones, Eden makes this transition seamless.
Hopefully, this tutorial has demystified the process of setting up Switch emulation. For anyone starting out or looking to configure their emulation setup, pre-configured libraries like those from Retrogrados Gaming can simplify the process even further, ensuring you spend less time setting up and more time gaming. Have fun and happy gaming! 🎮