Enjoy Retro Gaming the Simple Way!
Hey everyone!
Today I've got a quick tutorial for anyone who's just getting into emulation—or for those who've tried RetroBat before but couldn't quite get their games running properly. Missing BIOS files, firmware, controller issues, or emulator configuration problems are some of the most common challenges beginners face.
Have you ever run into these kinds of issues while trying to enjoy your favorite retro games?
</figure>This guide is based on a preconfigured RetroBat setup for Windows, designed to simplify the entire process by including the most common BIOS files, firmware, emulator configurations, and controller mappings already configured.
Whether you're using a gaming handheld, laptop, desktop PC, or mini gaming system, this setup can help you spend less time configuring and more time playing.
If you need additional help, feel free to reach out anytime. I'll also include a complete video tutorial covering the same process step-by-step.
Simple RetroBat Setup Guide for Windows (Step-by-Step)
Over the years I've seen many users struggle with emulator configuration, BIOS installation, firmware requirements, and controller setup. That's exactly why I wanted to share this guide.
The setup used in this tutorial is based on a preconfigured version of RetroBat that helps eliminate many of the common installation headaches, allowing beginners to get started much faster.
Step 1 — Get Your Preconfigured RetroBat Setup
(from the "Downloads" section on our website)
The setup demonstrated in this guide uses a preconfigured version of RetroBat for Windows.
Unlike a standard installation, this version already includes BIOS files, firmware, emulator settings, and controller configurations for most popular retro gaming platforms, helping users avoid hours of manual setup.
Popular emulators such as PCSX2, Dolphin, RPCS3, and many others are already configured and ready to use.
I won't provide download links here, but if you ever need assistance finding a suitable setup or have questions about the process, feel free to reach out.
Once installed, you'll be ready to start adding your games and enjoying your collection.
Step 2 — Extract the Setup
The RetroBat package is typically around 13GB since it includes everything needed to get started.
Simply extract the files to the drive where you want your emulation setup to live, usually your C: or D: drive depending on available space.
That's all there is to the installation process. No complicated emulator configuration or BIOS setup required.
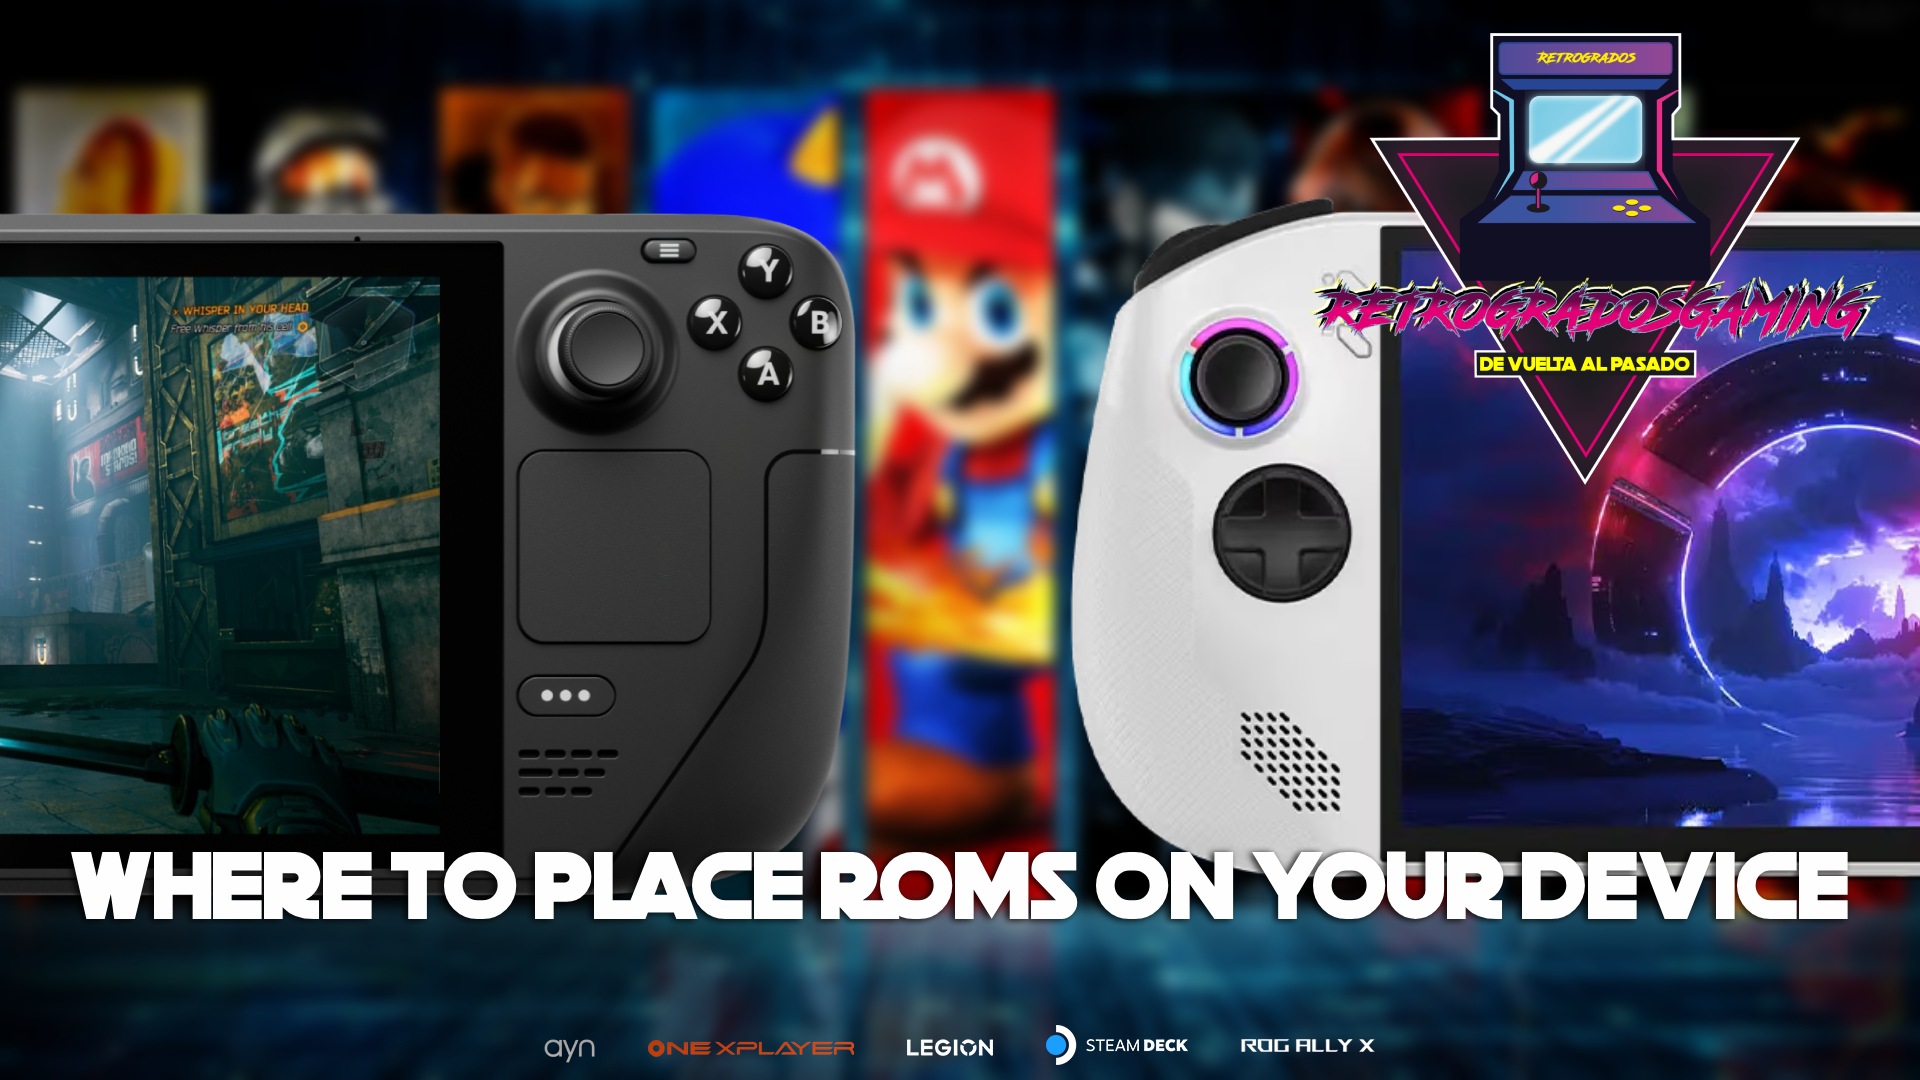
Step 3 — Add Your Games
Now comes the fun part.
Simply place your ROMs or game files into their corresponding folders.
Examples:
- PlayStation 2 games →
Retrobat/Roms/PS2/ - SNES games →
Retrobat/Roms/SNES/ - GameCube games →
Retrobat/Roms/GameCube/
If you already have your own game backups stored on an external hard drive, USB device, NAS, or cloud storage, simply copy them into the appropriate folders.
Once your games are in place, RetroBat will automatically detect them the next time it launches.
Step 4 — Test Your Setup
Launch RetroBat and test a few games.
Choose any platform you'd like and start a game to verify everything is working correctly.
If the setup was completed properly:
- Controllers should already be configured.
- BIOS files should already be recognized.
- Games should launch normally.
Most platforms work immediately without any additional adjustments.
Examples:
- PS1 → Ready to play.
- PS2 → Ready to play.
- Dreamcast → Ready to play.
- GameCube → Ready to play.
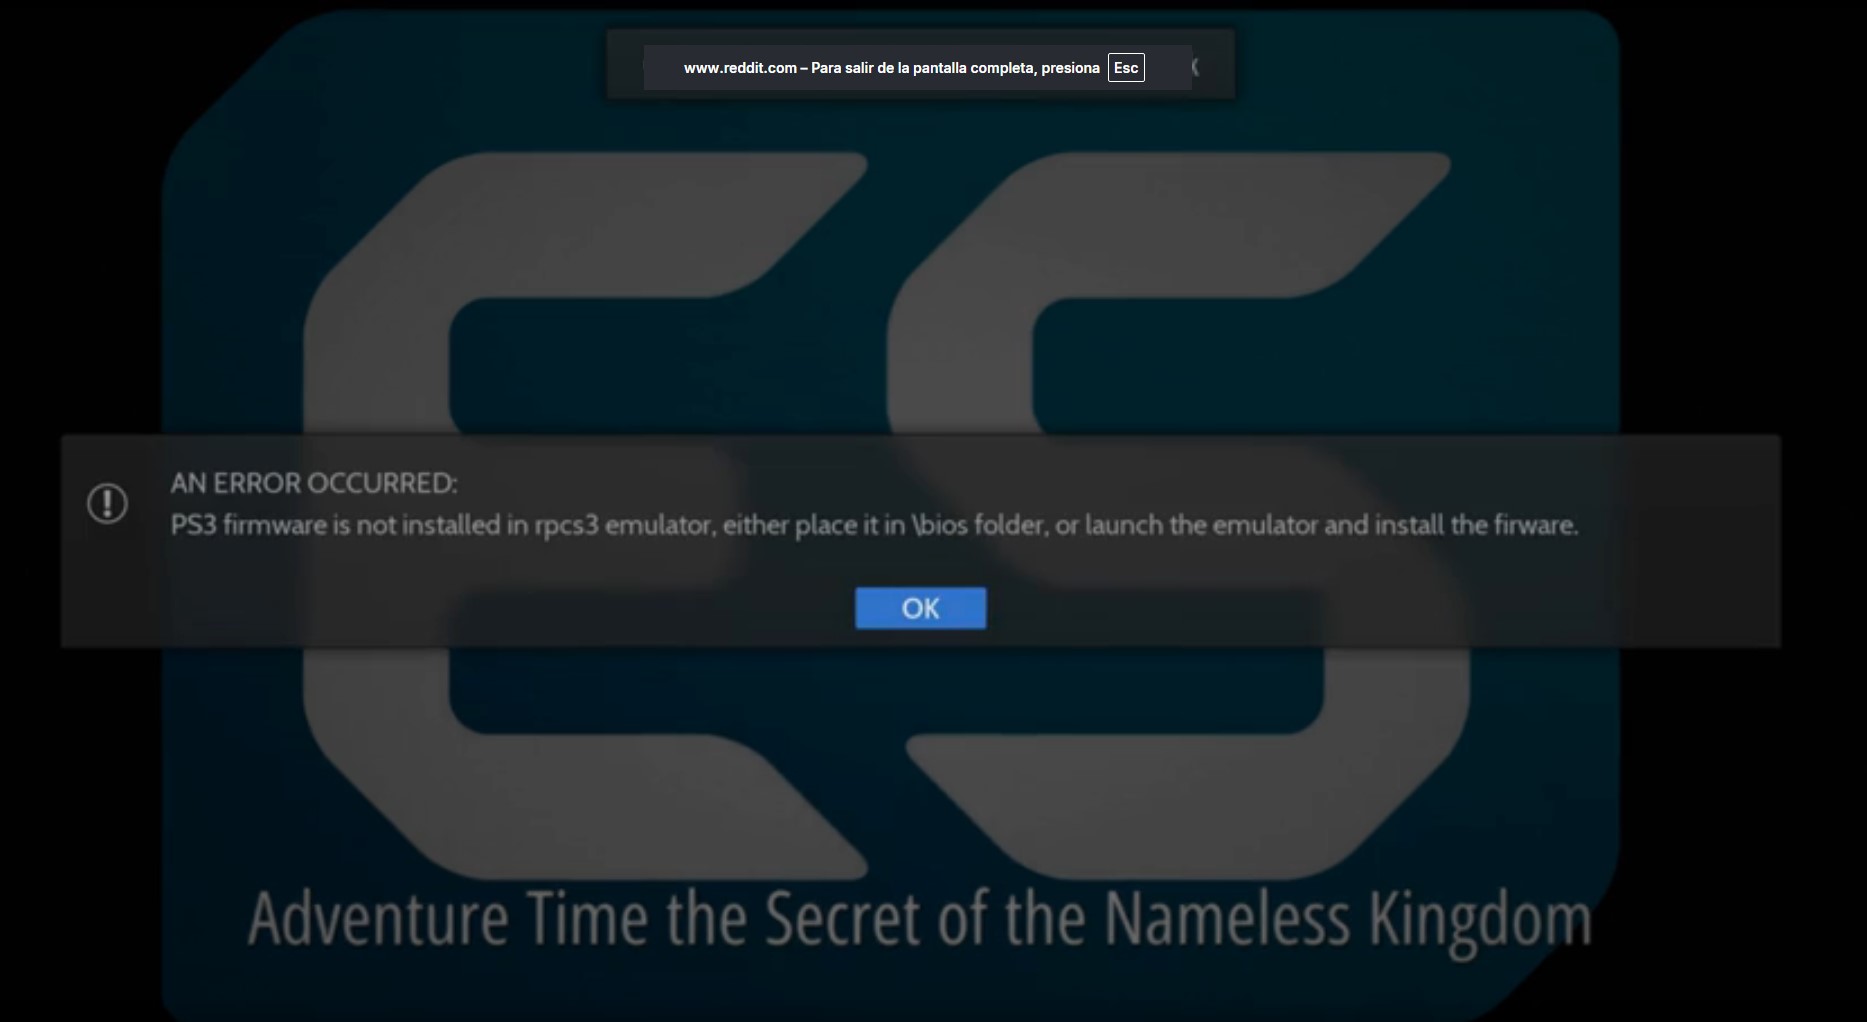
For PS3, there are a few additional considerations.
Step 5 — PS3 Game Setup Notes
RetroBat uses RPCS3 for PlayStation 3 emulation.
For the best compatibility, PS3 games should be stored in Folder Format.
For example:
Metal Gear Solid 4.PS3
or
BLUS30109.PS3
When RetroBat detects a properly formatted PS3 folder, it automatically registers the game inside RPCS3.
The first launch may take some time while RPCS3 prepares and installs required game data.
Larger games such as Metal Gear Solid 4 can take significantly longer during their initial setup, but future launches are much faster.
Step 6 — Customize Your Experience
Once everything is working, you can start customizing your setup.
RetroBat allows you to:
- Change themes.
- Adjust shaders.
- Modify emulator settings.
- Configure controller layouts.
- Improve performance for demanding games.
The included default settings are already optimized for most users, but advanced users can fine-tune everything if desired.
Step 7 — Enjoy Your Collection
At this point your setup should be ready to go.
Simply launch RetroBat, select a game, and enjoy.
The process is straightforward:
Download → Extract → Add Games → Launch → Play.
Whether you're revisiting classic consoles like the NES, SNES, and PlayStation, or exploring more advanced platforms like PS2, GameCube, Wii, and PS3, RetroBat provides a simple all-in-one solution.
Want Everything Ready to Go?
For users who prefer to skip BIOS installation, firmware configuration, emulator setup, and troubleshooting, Retrogrados Gaming offers preconfigured RetroBat collections designed to make the process as simple as possible.
It's an easy way to start enjoying your favorite retro games without spending hours configuring emulators and settings.